Hello my darlings and happy planting season!!!
I think we have finally reached the end of evenings in the thirties (or at least I sure freaking hope so!) and it’s time to get serious with the planting. At our farm, we have just started to kick things up a notch, getting the first summer crops into the ground (hello zucchini, watermelon, cucumbers, and sweet corn!) and preparing for a busy couple of weeks ahead.
In honor of the spring planting season that is upon us, I have some really exciting news to share: I’ve got a new guest contributor lined up for the blog this year who is going to be writing a monthly column for all the enthusiastic home gardeners following along.
This is something I’ve wanted to do for a very long time. I even thought that one day, it might be in my wheelhouse as a farmer to share gardening tips and tricks with you in this space, but as time has gone on and our farm has grown, I’ve realized so much of what we do is truly different from the routine of a home gardener.
After a lot of thought, I decided that the best person to teach you how to grow your own food was probably not actually my Carrot or me.
And so, a few months ago I reached out to the most enthusiastic, skilled home gardener I know to see if she’d be willing to put together a series on home gardening for you all.
Without further ado, I introduce you to Danielle Smith of Garden Like a Mother!
Danielle Smith is a home gardener in Madison, a mother of one, and a home gardening coach. She offers tips, support, and live weekly trainings in her private Facebook community for moms who want to grow their own low-maintenance, successful vegetables gardens as a way to achieve healthier, happier, and more intentional lives for themselves and their families.
I first met Danielle many years ago at a Soil Sisters event on my farm. Her passion for local food, farming, gardening, and working outdoors was immediately obvious. She attended our farm tour and stayed late to ask a bazillion questions. I adored her energy. We were reintroduced to one another again last year as two of Brava’s 2020 Women to Watch.
Danielle is a mover and a shaker, a serial entrepreneur filled with endless ideas, passion, and knowledge to share, and a true super mom. I cannot wait for you to meet and learn from her!
Enjoy! And welcome to the blog Danielle!
-Leek
Homegrown Guest Series by Danielle Smith of Garden Like a Mother
Post #1: Moving Your Seedlings Outdoors: Top 5 Tips for Transplanting Success
Hello readers! I’m super excited to be joining The Leek & The Carrot this year with a special blog series where I get to share my best gardening tips that will help you garden this summer with ease and confidence.
I am a passionate advocate for growing your own food at home, both because of the amazing health and lifestyle benefits that it gives us as gardeners and because of the positive ripple effects it sends out across communities and our planet. I hate that there is so much misinformation and confusion surrounding gardening, and as a garden coach, my aim is to cut through that noise and help people who have an interest in growing their own food actually do it successfully without overwhelm or stress.
If you have never gardened before, I hope this series inspires you to try growing a few things this summer. If you are already an experienced gardener, I hope that I can pass along a few tips that make your growing experience easier and more bountiful.
I decided to kick off our blog series this month by talking about how to properly move (AKA transplant) seedlings outdoors into the garden. While this process may seem straightforward—just dig a hole and plop it in, right??—it is actually a very critical part of the gardening process that must be done properly in order to set your plants up for a lifetime of health.
To a plant, getting transplanted is a big deal. It means getting your roots disrupted. It means going from the safe, predictable atmosphere of a climate-controlled indoor nursery to the great outdoors, where there are temperature swings, intense sunlight, wind, rain, and pests. And it means needing to adjust your physiological processes to properly handle those new elements– stressful right?
Luckily, as a gardener, there are things you can do to make this change easier on your plants… fail to do this and you risk stressing your plants out, which can lead to them having stunted growth, reduced yields, and increased susceptibility to pests and disease all season long.
Below are my top five tips for how to transplant your seedlings in the best way possible to set them up for a lifetime of success. This advice is applicable regardless if you have started your own seedlings from seed or if you are buying transplants from a nursery or local farmer.

#1: Transplant at the right time
It’s spring. It’s sunny. Birds are singing and flowers are blooming. So it’s time to move your plants outside right? Maybe not.
One of the biggest mistakes that gardeners make is moving their seedlings outdoors too soon. Sure, some crops can tolerate colder temperatures (such as kale, spinach, broccoli, and lettuce) and can be moved outdoors earlier in the spring. However, the typical seedlings that home gardeners transplant outside tend to be the quintennial summer crops like tomatoes, eggplants, peppers, and cucumbers– and these summer crops CANNOT tolerate cold temperatures. Below 30 degrees, they will die, and below 40 degrees, they will get stressed and sustain damage and stunted growth.
Therefore, if you live in an area that gets frost, you must make sure that you do not put any of your warm season crops out until the proper time, which often times is a full TWO WEEKS after the last average frost date in your area. In the Midwest, this is often the end of May or even the beginning of June. Yes, I know that seems like an excruciatingly long time to wait, but trust me, your plants will be much happier and thankful for your patience and willingness to wait.
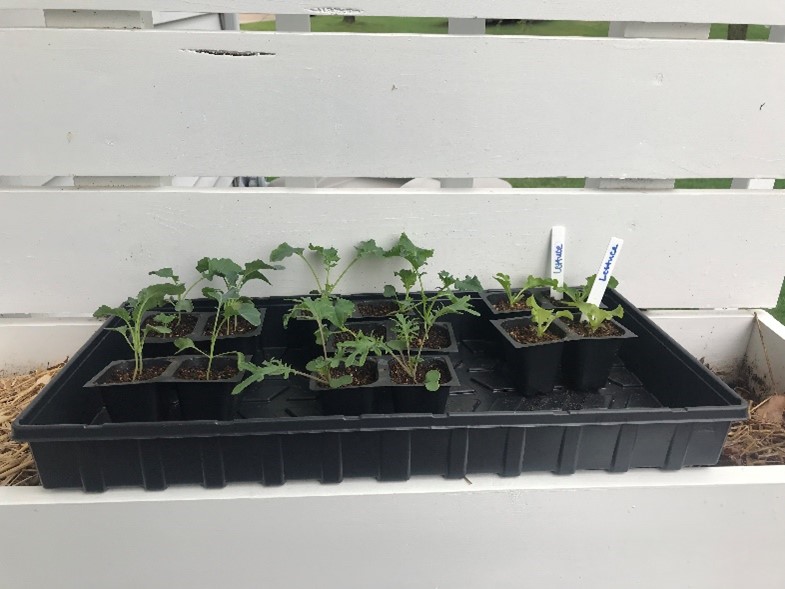
#2: Allow time for your seedlings to adjust to the great outdoors
One of the worst things you can do to your seedlings is abruptly move them from indoors to outdoors without providing them a chance to adjust.
There are actually physiological changes that happen to plants on a cellular level when they encounter natural outside conditions. For example, leaves thicken up and put on additional protective layers to shield themselves from the sun which is way more intense outdoors than even the most intense set of indoor grow lights. Also, stems get stronger and more resilient as they adapt to windier conditions.
You can give your seedlings the chance to get used to outdoor conditions by gradually introducing them to the outdoors over the span of a few days. This process of slowly acclimating plants to the outdoors is called “hardening off”. Think of “hardening off” as preschool for your plants- it’s the bridge between indoors (“home life”) to outdoors (“school”). It’s a period where your plants learn what it’s like to be outside and make the adjustments necessary to thrive once they are outdoors full time.
To harden off your plants, start off by putting them outside on a mild day in the early morning (around 9 am) for two hours and then bringing them back inside for the remainder of the day. Early morning sunlight is the least intense sunlight of the entire day, so it’s a great “warm up” for them.
The next day, take them outside at the same time but leave them out for three hours total. Continue to do this for one week total, adding one hour to their outside time each day. By the end of the week, your plants will have spent a stretch of 8+ consecutive hours outside and they will have properly acclimated to what life will be like once they are planted outside.
One quick reality check here– this ideal hardening off schedule can be hard to actually do, especially if you have a job outside the home or you have lots of seedlings to bring in and out. If you find that you can’t do the hardening off schedule as described above, you have two options:
- Split your hardening off over two or three weekends and view the intervening weekdays as a pause in the hardening off process.
- Use an abbreviated hardening off schedule, perhaps lasting a total of three days and lasting for 3 hours on the first day, 5 on the next, and 8 on day three.
Do not assume that seedlings purchased from a nursery or farmer have been hardened off. Ask the supplier when you buy what conditions the seedlings have experienced so far, and when in doubt, complete a hardening off process.
#3: Intentionally choose the time you transplant
As you go to move your plants outside, remember that you are about to disturb your plant’s roots; considering that a plant’s roots are the main conduit by which they feed themselves, this is a pretty significant disruption. You can help them settle into their new location by choosing to transplant during optimal environmental conditions:
- Choose a mild and cloudy day to transplant whenever possible. If light rain is in the forecast, even better. Cooler temperatures and overcast skies will help your plants make the transition outside successfully, as they will be able to maintain better moisture levels during the critical window of time after it is placed in the ground and adjust to the change more readily. A harsh, hot, sunny day may require a plant to wilt or go into shock.
- Avoid transplanting during the heat of mid-day. It is best to transplant either in the early morning or in the evening. These times of days will offer a less intense environment for plants to contend with as they adjust to their new home.
#4: Water well before and after transplanting
It is important that you provide ample water to your plants to help them maintain moisture levels and overcome any stress that they experience.
- Water your seedlings well before removing them from their pots.
- Remove plants from their pots only after you have dug their transplant hole and immediately replant them in the new soil in order to minimize the amount of time the root ball is exposed and losing moisture.
- After placing in the hole and gently firming the soil around the root ball, water the soil around the plant deeply to settle the soil and ensure good connection between the roots and soil. Continue watering until the soil is moist up to your first knuckle in multiple spots around the plant.
#5: Plant at the proper depth
While you might assume that you should plant your seedlings at the same depth that they were planted previously, it is actually a good idea to plant certain crops deeper:
- Crops in the tomato family (ex: tomatoes, peppers, and eggplant)
- Crops in the cabbage family (ex: cabbage, broccoli, cauliflower, Brussels sprouts)
Crops in these families should be planted deeply, roughly halfway up their stem. You may need to snip off leaves that exist under the planned new soil line with scissors.
Planting a stem deeply makes a plant sturdier and removes “floppiness” in the plant that can cause the stem to snap due to wind or just topple over due to weight imbalances. In tomatoes and other plants in the tomato family, roots will actually grow directly off portions of the stem that are buried, which helps anchor the plant better and increases the ability for the plant to access nutrients and water from the soil.
Note: Crops in the tomato and cabbage families have special stems that tolerate being buried. Don’t do this with other crops, as stems of other crops will rot if buried– not the effect you want!


There you have it- my top five tips for transplanting seedlings outdoors with success! I hope that these tips gave you a newfound appreciation for the seemingly simple act of moving your seedling outdoors and made you feel prepared to transplant your seedlings successfully. What other questions about transplanting do you have? I’d love to hear– drop them in the comments below!
-Danielle
