Guest series by Danielle Smith of Garden Like a Mother
At this point in the season, I know many gardeners (even myself) start feeling weary and tired from their efforts throughout the entire summer (whether your garden lived up to expectations or not). It is all too easy to just limp to the end of the season and not really do much of anything in your garden in the fall, especially when you have all those leaves to gather and fall activities to enjoy.
Even if you are feeling burned out on gardening, there are a few tasks that I highly recommend you do before the cold arrives. These are all super simple projects that won’t take too much of your time, and they will be well worth the effort come spring when you are reinvigorated and impatient to start gardening again.
Here are the 4 key things you can do now at the end of your gardening season to set yourself up for success next spring:
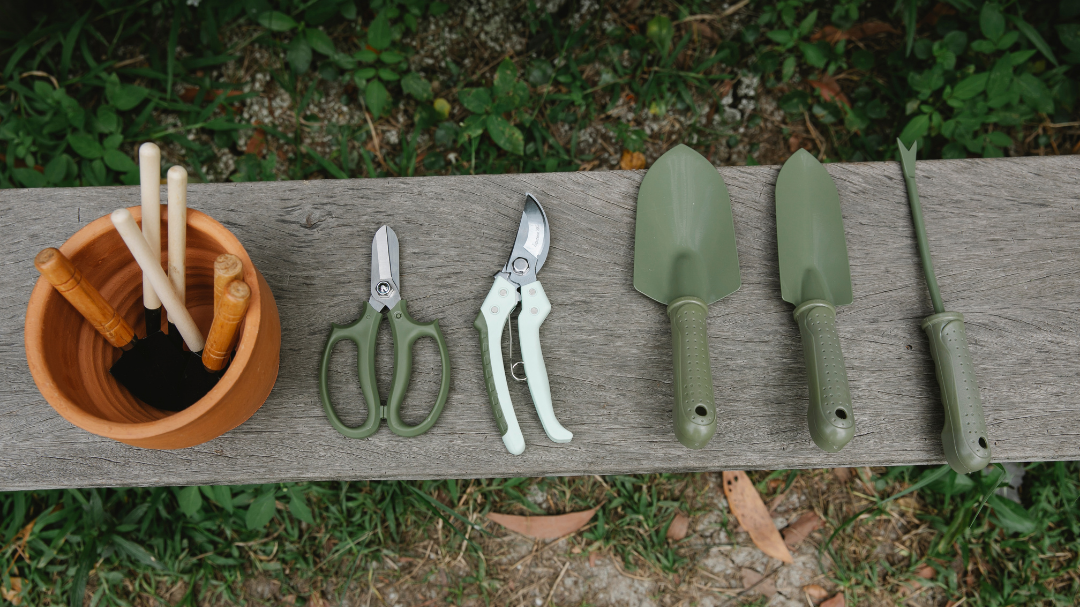
#1: Clean, Organize and Restock Tools & Supplies
If you are anything like me, you’ve noticed that gardening tools have a tendency to get less organized and more dirty the further you get into the gardening season. Tools get used over summer, and therefore they get dirty, and sometimes, despite our best intentions, gardening supplies get set down in odd places..
Fall is the perfect time to hit the reset button and make sure that all of your tools and supplies are accounted for and put back in their place before winter. Doing this now helps make sure that you actually know where things are in the spring (you won’t remember the random places where you set those pruners down in 6 months). There is nothing more frustrating than being ready and excited to get started with growing in spring but being held back because you can’t find things that you know you own.
Now is also a good time to get out a hose, towel, bucket, and some soap to give your tools a nice cleaning. Your tools will last longer the better you take care of them! Plus, it’s always a nice feeling to start the spring with fresh and sparkling clean tools.
I usually will fill up the bucket with warm soapy water and let things sit in there a bit to remove any crusty mud. Usually things come pretty clean after that. Make sure to let things air dry well so they don’t rust over winter.
Finally put everything back in a designated spot where they can’t get damaged during the winter months. Make note if any tools or supplies need replacing, and purchase replacements now so you are ready to hit the ground running in spring.
#2: Test & Refresh your Soil
If you installed a new garden bed this year or if you haven’t tested your garden soil within the last three years, grab a few samples of soil and send it off for testing with your local extension service.
Soil testing will tell you the pH of your soil, along with the levels of the major nutrients that your plants need to grow large and stay healthy.
Testing your soil in the fall is a great time because testing services tend to be less busy than in the spring (when more people tend to think about planting and therefore want their soil tested).
Google “soil testing” in your area and you should be able to find a website with instructions on how to take soil samples and where to send it for testing. Testing is typically pretty inexpensive and reports usually only take a week or two to get back.
Based on the report you get back with your soil test results, you may decide to add various things to your soil this fall to improve it for next year. You will usually add nitrogen of some sort. Typically, I add compost if my garden also needs a boost of organic matter or blood meal if it doesn’t. More specialized amendments will need to be added to change pH or correct nutrient deficiencies.
I recommend adding anything that your soil ends up needing this fall to allow time for it to breakdown a bit and incorporate into the soil well over the winter, making your soil ready for planting right away in the spring.

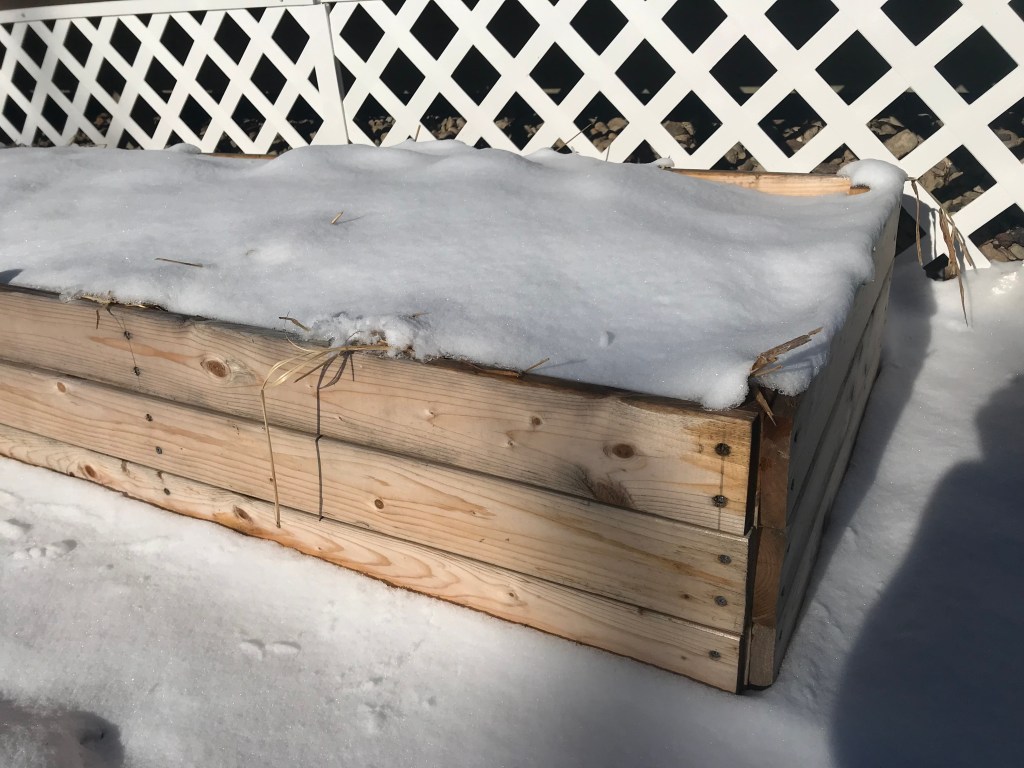
#3: Remove Plants from Your Beds & Cover with Mulch
Most gardeners clean up their beds before winter arrives by removing the annual plants they grew that summer. This helps remove unwanted pests and disease from the garden as well as get the area nice and clean for spring.
You will often hear advice to “pull” your plants, but I actually want you to “cut” your plants. Instead of pulling your old plants out completely (roots and all) just cut them off at the soil line with a pair of pruners and leave the roots in the soil to decompose over time.
Why?
Beneficial microbes and bacteria live right alongside plant roots. If you pull the plants out, you remove them from the soil, along with the soil attached to the roots (which only means you need to add more soil to your garden beds).
Put the top parts of healthy plants in your compost pile if you have one, or take them to a nearby brush disposal facility. And if you don’t have a compost pile yet, consider starting one now. This is the perfect time of year to start, since you’ll have lots of leaves to add to the pile soon. Diseased or pest-ridden plants are best bagged and taken to a brush disposal facility to avoid perpetuating issues next season.
Lastly, apply a 4-6 inch thick layer of mulch (I use straw or shredded leaves) on top of your garden soil to protect the soil and help prevent erosion over the wet winter months.
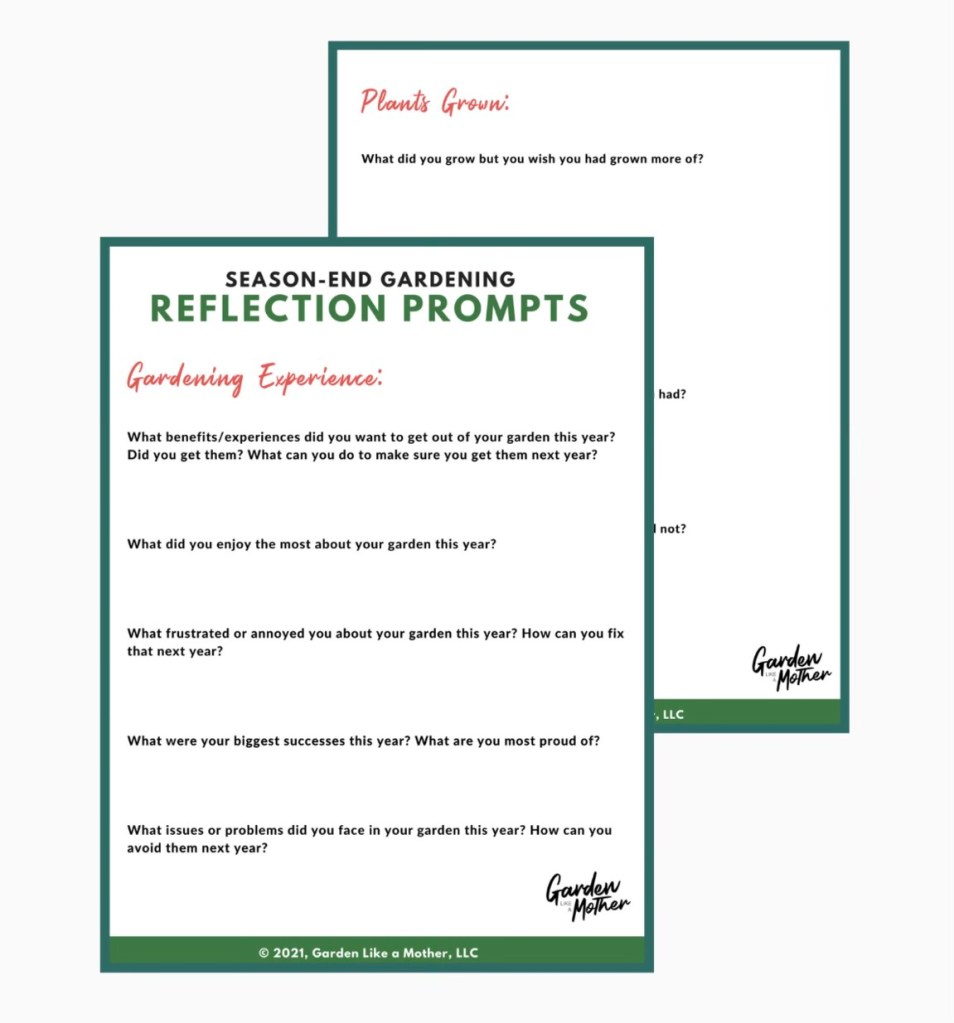
#4: Debrief & Reflect
One of the most important things you can do each fall is intentionally document and reflect on your garden season. Do this now, because let’s face it, you will not be able to remember the details properly in a few months when you go to plan your garden.
Even if you took notes throughout the gardening season in a journal– which I highly recommend you do– it’s a good idea to look through your notes and confirm that any major lessons or events weren’t missed. This will allow you to intentionally build on your skills and optimize your experiences in the garden.
I can’t underscore the importance of this step enough. The only way to truly improve your gardening skills and learn to make gardening a successful and rewarding part of your life is by paying attention to what works and what doesn’t, and consciously use what you observe and experience to improve.
So, make a nice cup of coffee or tea and sit down on a cozy fall morning for 30 minutes to reflect on your gardening season. What went well? What didn’t? What did you enjoy the most? The least?
To help you make this process super simple, I have created a full list of reflection prompts that are available to download for free- click here to grab it!
Let me know how your end of season wrap up goes and if you have any questions. I’d love to hear how your gardening season went and if any interesting things came up for you during your reflection!
As for me, here are a few of my own reflections from this past year:
- Zucchini grows super well in my raised bed, but they got, well let’s say just a taddddd out of hand. They actually grew over the side and down so far that the zucchini grew into the ground and came out u-shaped sometimes. I could try staking my zucchini plants next year to help them grow more vertically, but I think I’ll just plant them in the ground next year to reserve my precious raised bed space for other veggies.
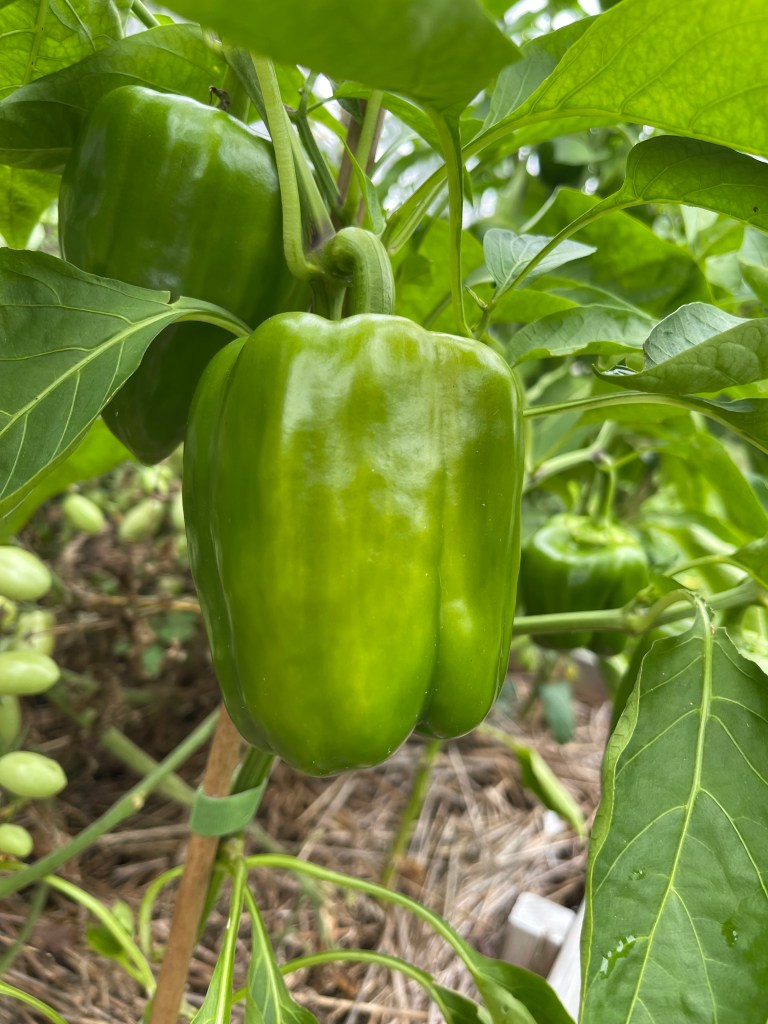
- I found great satisfaction in growing the most perfect bell pepper ever this summer. I found it hilarious that my husband was legit convinced I bought it from the store and was trying to fool him. He only believed me when I had photographic proof of it on the vine 🙂
- I installed drip irrigation in my garden bed this summer and it ended up being the best idea ever, especially considering the drought we had here this summer. It is hooked up to a timer so that they get watered automatically, which is perfect for a busy gardener like me who even despite best intentions sometimes get sidetracked by life and forgets to get out there to water. It took quite a bit of research and work to figure out what to order and how to set it up, but it was well worth it!
- Growing edible flowers (such as pansies or nasturtium) alongside my salad greens this year was one of the most enjoyable yet simple things I did in my garden. The combo is so pretty and delightful, both in the garden and on my plate, and my kiddo was tickled that he could pull off the blooms and eat them.


I’ll be back for one last blog post next month all about how to plant garlic in the home garden. This is a super fun and fascinating process that I look forward to every fall. I can’t wait to plant and I can’t wait to share the process with you!
Xoxo,
Danielle

Danielle Smith is a professional garden coach, and she helps busy moms learn how to grow simple and hassle-free vegetable gardens at home so they can fuel their mind, body and soul and cultivate the mom life they truly want. If you are interested in learning how to grow a veggie garden that improves your life rather than becoming yet another stressful thing on your plate, contact her at gardenlikeamother@gmail.com to learn more about how she can help.
